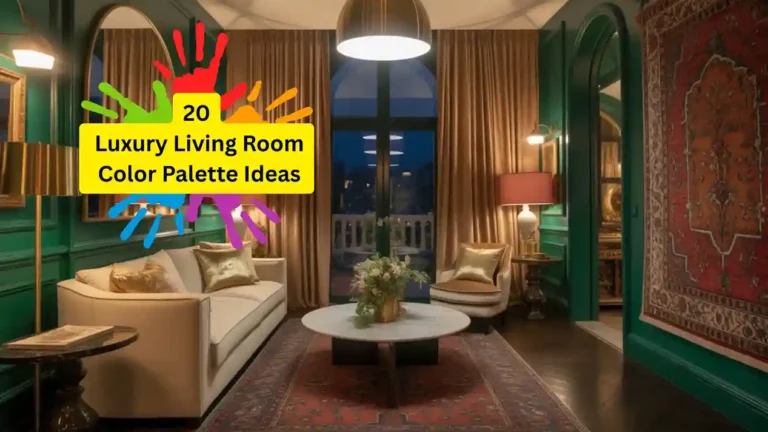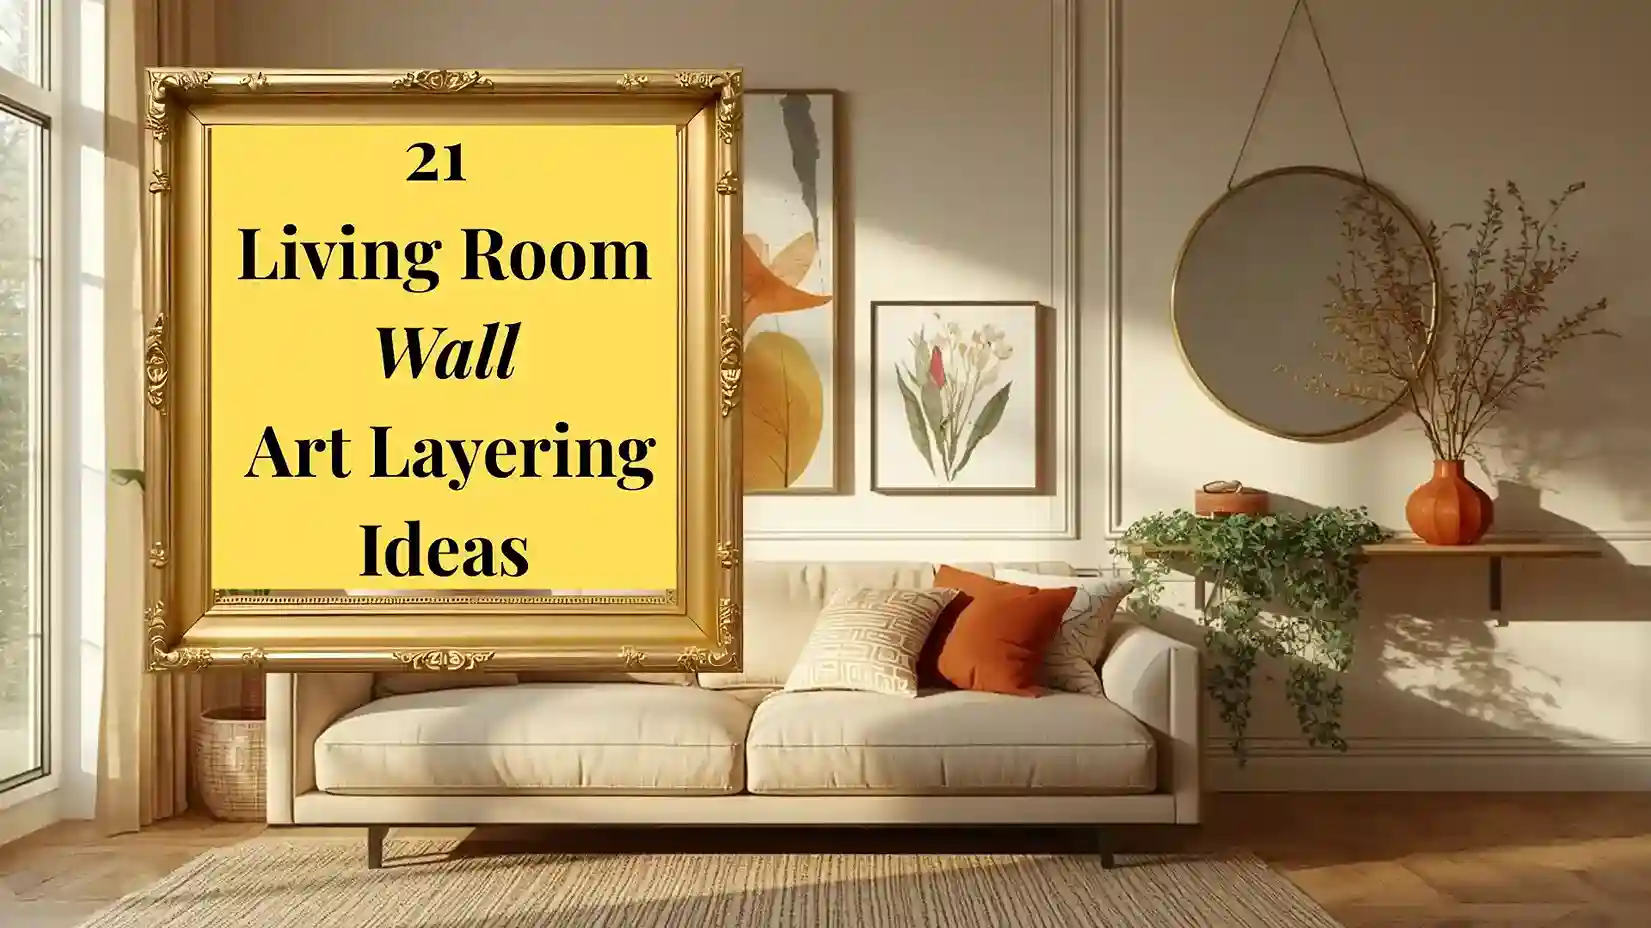
21 Living Room Wall Art Layering Ideas That Transform Every Blank Wall
If you’ve ever stood in front of a bare living room wall with a single frame in hand and felt completely lost, you’re not alone. Living room wall art layering ideas are one of the most searched design topics online because getting it right feels intimidating, but getting it wrong is painfully obvious. The good news? Layering art is a learnable skill, not a gift you’re born with. These 21 ideas will walk you through exactly how to combine frames, mirrors, objects, and plants to create a wall that feels like you and like it belongs in a design magazine. A fireplace and a curated art wall are the two strongest focal points a living room can have; these living room focal point styling ideas show how to position and balance both without the room feeling cluttered.
What Makes a Layered Wall Actually Work
Successful wall art layering isn’t about hanging more things; it’s about creating a visual conversation between pieces. The key principles: vary scale dramatically (anchor with one large piece), mix textures (wood, metal, woven, ceramic), and leave breathing room. Think of each wall as a composition, not a collection. When your eye travels naturally from piece to piece without effort, you’ve nailed it. White walls and layered art are the natural pairing. These white living room styling ideas show how to use a neutral backdrop to let your art collection become the room’s true focal point.
Why This is Top of Mind
Your living room walls are the largest canvas in your home, and bare or poorly arranged art can make even expensive furniture feel flat. Research in environmental psychology confirms that curated, personal spaces lower stress and increase feelings of belonging. Layered walls signal intentionality; they say someone lives here thoughtfully. Whether you rent or own, wall art layering is one of the highest-impact, lowest-cost upgrades you can make to your home’s atmosphere. Wall art and paint color have a two-way relationship; the art influences the palette, and the palette shapes how the art reads. These living room color and art pairing ideas show how to make both decisions together
1. Start With One Oversized Anchor Piece
Every great layered wall begins with a single large-scale work, think at least 24×36 inches, that sets the tone. This could be an abstract canvas, a large botanical print, or even a woven wall hanging. Everything else you add should feel like it’s in dialogue with this anchor. Don’t hang it too high; center it at eye level (around 57–60 inches from the floor to the center). Oversized abstract canvas prints or large framed art sets from Society6, Minted, or similar
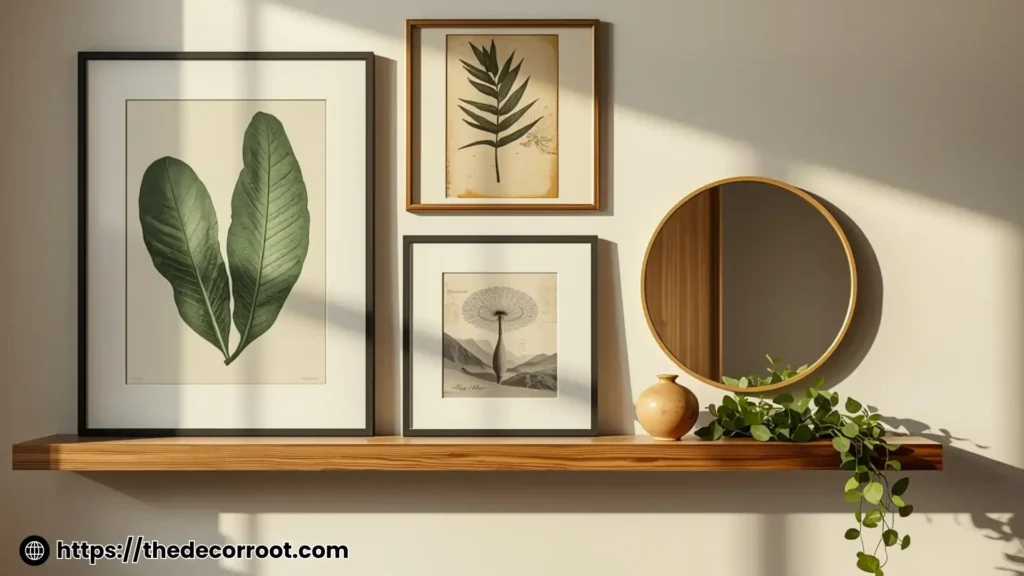
2. Add a Round Mirror for Visual Relief
After anchoring with a rectangular piece, a round or oval mirror breaks the rigidity and bounces light around the room. Brass, black, or aged silver frames work beautifully in most palettes. Position it slightly overlapping your anchor piece’s visual space, not perfectly beside it.
3. Use a Picture Ledge for Easy Swapping
A slim floating shelf or picture ledge is one of the best living room wall art layering ideas for renters and indecisive decorators alike. Lean art rather than nailing it, and layer smaller pieces in front of larger ones. Swap seasonally without filling your walls with extra holes.
4. Mix Frame Finishes Intentionally
Gone are the days of matching everything. Mixing black, gold, natural wood, and silver frames adds richness, but do it with a rule: choose one dominant finish (60%), one secondary (30%), and one accent (10%). This creates cohesion while still looking curated.
5. Layer in a Wall Sconce or Mounted Light
Lighting is art, too. A plug-in wall sconce or picture light mounted above a key piece adds dimension that pure flat art cannot. It creates warmth in the evening and makes your arrangement feel architectural rather than decorative.
6. Introduce a Textile or Macramé Element
Fiber art, woven tapestries, or a small macramé piece introduce texture that paint and canvas simply can’t. Even a small woven piece tucked into a gallery arrangement adds warmth and a handcrafted quality that elevates everything around it. Floating picture ledge shelves or decorative wall shelf sets
7. Group Odd Numbers of Pieces
Design’s golden rule: odd-numbered groupings feel more natural to the human eye than even ones. A trio of prints, five small frames, or seven items in a gallery arrangement always outperforms two or four hanging in isolation.
8. Create a Floor-to-Near-Ceiling Gallery Wall
For high-impact living room wall art layering ideas, extend your gallery from just above the baseboard all the way to near the ceiling. This elongates the room visually and makes even small living rooms feel grand. Use smaller pieces toward the edges and your anchor near eye level.
9. Include a Framed Textile or Vintage Map
Frame an antique map, a piece of vintage fabric, or even a printed handwritten recipe passed down in your family. These personalized elements make a layered wall feel collected over time rather than purchased all at once.
10. Repeat a Color Thread Through Every Piece
To make diverse pieces cohere, identify one color that appears in every item, even subtly. A rust tone in a photograph, a warm cream in a frame mat, a terracotta in a ceramic plate on the wall, this invisible thread ties everything together.
11. Add a Decorative Plate or Ceramic Wall Object
Dimensional objects, decorative plates, sculptural wall art, and ceramic reliefs push your layering into true 3D territory. These catch shadow and light differently throughout the day, making your arrangement feel alive.
12. Try the “Start From Center, Work Outward” Method

For gallery walls, this approach prevents the common mistake of awkward empty corners. Hang your anchor or focal piece first, then work outward in all directions. Mock-up with paper templates taped to the wall before committing to nails.
13. Frame Pages from Art Books or Vintage Magazines
One of the most budget-friendly living room wall art layering ideas: pull pages from beautiful art books, vintage fashion magazines, or botanical encyclopedias, and frame them in matching slim frames. Instant sophistication, zero cost.
14. Use Varying Frame Depths
Frames aren’t all flat; some are box frames, some are shadow box depth, some are ultra-slim. Mixing depths creates subtle dimensionality that flat arrangements lack. Reserve deeper frames for three-dimensional objects like dried botanicals, fabric scraps, or pressed flowers.
15. Anchor With a Large Statement Clock
An oversized clock, especially in a sculptural, minimalist style, works as both a functional object and art. Layer smaller pieces around it as you would any anchor piece.
16. Let Plants Creep Into the Composition
A trailing pothos on a bracket shelf, a small hanging planter, or a tall arching stem in a floor vase beside the wall, living greenery softens rigid arrangements and adds the organic element that makes spaces feel lived-in.
17. Add Architectural Molding or Paneling as a Frame
If you want a backdrop that makes all your art pop, install simple board-and-batten, picture rail molding, or even peel-and-stick wall paneling behind your arrangement. It acts as a giant frame for your entire composition.
18. Consider a Black-and-White Photograph Cluster
A tight cluster of 5-9 black-and-white family or travel photographs in identical or similar frames is one of the most timeless living room wall art layering ideas. Use identical mat sizes for instant polish.
19. Go Monochromatic With One Art Style
Choose one aesthetic: all botanical prints, all abstract, all architectural illustrations, and vary only the sizes and frames. This creates a collected look without visual chaos. A monochromatic approach is especially effective in open-plan spaces.
20. Use Washi Tape or Painted Frames Directly on the Wall
For renters or commitment-phobes: use washi tape to simulate frames, or paint simple rectangular frames directly on the wall with matte paint. Hang art inside these painted zones for a deliberate, editorial effect.
21. Finish With a Personal Object, Not Art
The final layer in the best-curated walls is always something personal and unexpected: a vintage hat, a musical instrument, a handmade ceramic from a trip, a framed letter. This is the layer that makes people stop and ask, “Where did you get that?”
Quick Action Plan
- Weekend project: Start by identifying your anchor wall. Remove everything currently on it.
- Using painter’s tape, mock up the layout on the floor first.
- Hang your largest piece, then add a mirror, then a shelf.
- Live with it for a week before adding more.
- Shop your own home first; you likely have frames, ceramics, and plants that belong there already.
- Only buy what’s missing after your first arrangement is up.
FAQs
Conclusion
Great walls don’t happen by accident; they’re built layer by layer, with intention and a willingness to experiment. Whether you start with one large anchor print or dive into a full gallery wall, these living room wall art layering ideas give you every tool you need to create something genuinely beautiful. Your home deserves walls that tell your story.
This post contains affiliate links. If you purchase through them, I may earn a small commission at no extra cost to you.
📌 Loved these ideas? Save this post to your Pinterest boards so you can come back to it when you’re ready to style your walls!