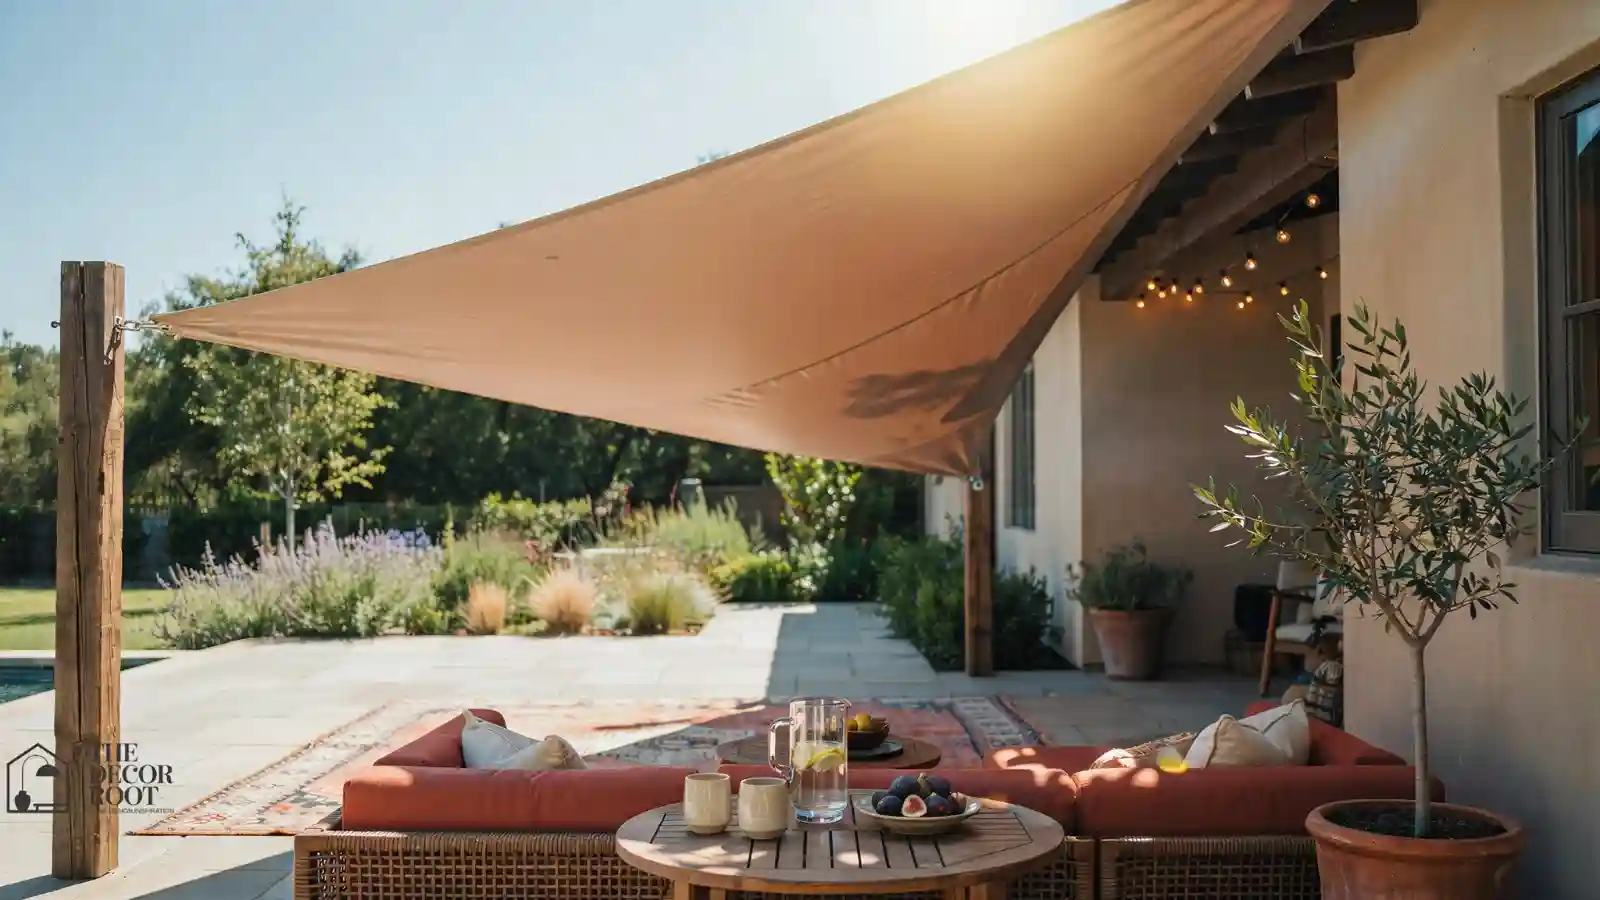
21 Shade Sail Patio Ideas That Actually Work (Not Just Look Good)
Shade Sail Patio Ideas look completely effortless in every Pinterest photo: one clean triangle of fabric, perfectly taut, casting a crisp shadow over a beautifully styled patio. What those photos never show is the sail that sagged into a genuine water-collecting pocket after the first real storm, or the one that started flapping loud enough to hear from inside the house every windy night. A shade sail that actually works long-term comes down to angle, tension, and anchor points, not just fabric color or the size of the triangle you picked. A shade sail patio that actually works is one of the most practical home decorating ideas for an outdoor space. When tensioned correctly between the right anchor points at the right angle, a shade sail reduces the surface temperature beneath it by up to fifteen degrees and extends the usable hours of an outdoor space through the hottest part of every summer day.
This post contains affiliate links. As an Amazon Associate, I earn from qualifying purchases. If you buy through these links, I may earn a small commission at no extra cost to you.
What Makes the Difference
The gap between a shade sail that photographs well for exactly one Pinterest post and one that actually holds up through an entire season comes down to a handful of engineering choices most quick-tip guides skip past entirely: real drainage angle, hardware genuinely rated for the job, and anchor points built to handle actual sustained wind load rather than just static weight. Get those three fundamentals right first, and the fabric color, shape, and overall layout become the genuinely easy part of the whole project. A shade sail and a balcony privacy screen solve two halves of the same outdoor comfort problem: shade overhead and privacy at eye level. These outdoor shade and privacy ideas show how to combine a sail with a screen panel so the outdoor space is protected from above and from the sides simultaneously, creating an enclosed-feeling zone without any permanent construction.
21 Shade Sail Patio Ideas
“A shade sail transforms when an outdoor space can be used. Browse all our DIY and Budget decorating ideas for screened porches, A shade sail and a screened porch are the two most effective overhead solutions for outdoor comfort, these overhead outdoor comfort ideas show how to choose between the permanent, enclosed quality of a screened porch and the flexible, architectural quality of a shade sail based on your climate, budget, and how you actually want to use the outdoor space. Balcony privacy, hammock corners, and deck design ideas that complete the outdoor room a shade sail makes comfortable.
1. Angle the sail at a minimum 15-degree slope for drainage
A flat, level sail collects rainwater directly in the center, stretching and eventually tearing the fabric under the accumulated weight of standing water. Installing at even a slight 15 to 20-degree angle lets water run off cleanly at one corner instead of pooling in the middle, which is genuinely the single most important factor in a shade sail lasting more than one full season of use.
2. Use four anchor points instead of three for larger sails
A triangular sail only technically needs three points to function, but for anything over roughly 12 feet per side, a four-point square or rectangular sail distributes tension considerably more evenly across the structure and reduces the billowing motion that stresses both fabric and hardware over time.
3. Choose marine-grade stainless steel hardware, not standard outdoor-rated fittings
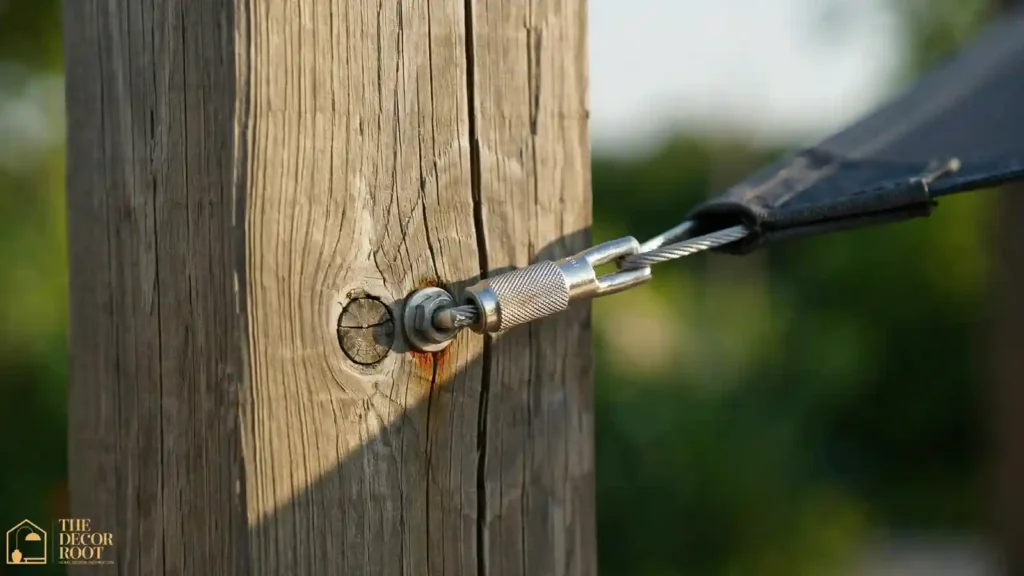
Turnbuckles, D-rings, and eye bolts specifically rated for marine use resist corrosion from UV and moisture exposure far longer than standard galvanized hardware does, which is genuinely worth the extra upfront cost since hardware failure is the most common single cause of a shade sail coming down entirely.
4. Overlap two smaller sails instead of using one oversized sail
A single very large sail concentrates enormous cumulative tension onto just a few anchor points. Two overlapping smaller sails split that load across a greater number of points and create a genuinely layered visual effect that reads as more intentional design than one flat expanse of fabric.
5. Anchor at least one point to a dedicated post, not just the house
Relying entirely on house-mounted anchors puts repeated, cumulative stress on siding or fascia material that genuinely isn’t built to handle sustained tension of this kind. A single freestanding post, properly set in concrete, gives the whole system a considerably stronger, more stable anchor point.
6. Use a turnbuckle at every anchor point for adjustable tension
Fixed-length attachments can’t be re-tightened at all as fabric naturally stretches through its first full season of exposure. A marine-grade turnbuckle kit at each corner lets you re-tension the whole system in a matter of minutes without removing any hardware at all.
EDITOR’S PICK
🛒 Marine-Grade Turnbuckle Kit
Marine‑grade turnbuckles at each corner let you re‑tension stretched fabric in minutes without removing hardware, unlike fixed attachments.
(paid link)
7. Pick a breathable knitted fabric over a solid vinyl tarp
A knitted, UV-stabilized shade sail fabric lets a meaningful amount of wind pass directly through the weave itself, reducing the “sailing” effect that puts genuine stress on anchors during strong gusts. A solid vinyl tarp, by contrast, catches wind exactly like an actual boat sail.
8. Position sails to block the harshest afternoon sun, not just overhead
Rather than centering the sail directly overhead by default, angle it specifically to block the lower western sun during late afternoon, when heat and glare are typically at their most intense on a patio.
9. Set post depth at a minimum of 2 feet in concrete for stability
Undersized post footings are a genuinely common failure point once real wind load gets added on top of an already-taut fabric system. A minimum 2-foot depth in concrete, adjusted specifically for your local soil type and frost line, keeps posts from shifting.
10. Choose a color that complements your patio’s existing palette, not just what’s in stock
Sail fabric comes in genuinely dozens of available colors, and a tan or cream sail set against terracotta furniture creates a cohesive, considered look, while a mismatched bright color can make an otherwise well-designed patio feel visually disjointed.
11. Add string lights along the support cables for evening use
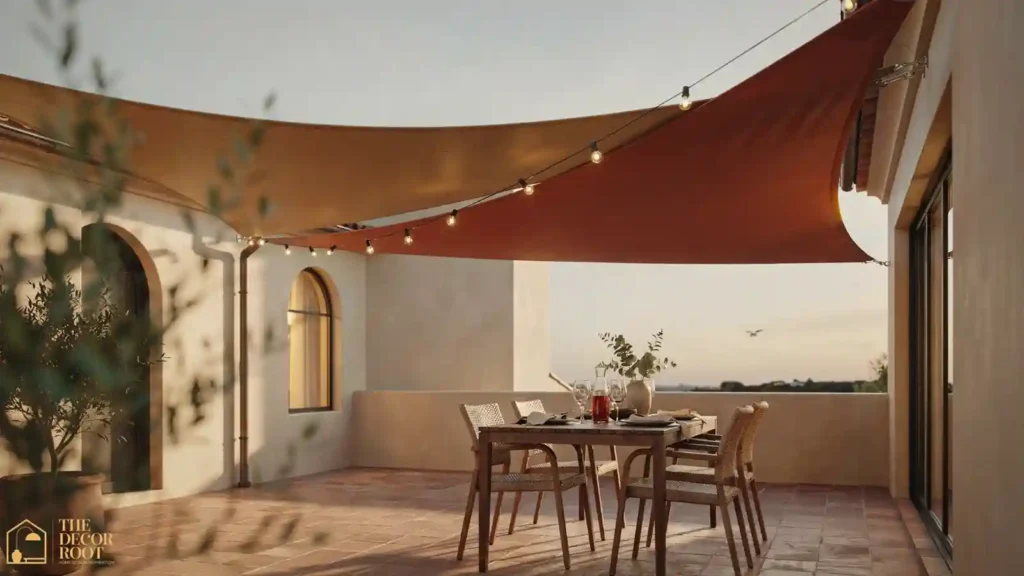
Running warm string lights along the exact same cables that anchor the sail extends the patio’s genuinely usable hours well into the evening without needing any separate mounting hardware at all, since the cable system is already structurally built to hold sustained tension. A shade sail handles the overhead dimension of outdoor privacy; these patio and deck privacy ideas show how to address the lateral dimension with screens, planted borders, and slatted panels so the complete outdoor space feels enclosed and comfortable from every angle.
EDITOR’S PICK
🛒 Warm String Lights
Warm string lights on existing sail cables extend patio hours into evening, no extra hardware needed, since the system is built for tension.
(paid link)
12. Remove or loosen sails before major storms, not after
A fully taut shade sail genuinely acts like an actual sail in high wind conditions, and removing it entirely or significantly loosening tension before a forecasted storm prevents the anchor and post damage that comes from leaving a system fully tensioned through severe weather.
13. Install sails with at least 7 feet of clearance underneath
Enough headroom for furniture and comfortable movement without the space feeling low or oppressive; 7 feet minimum keeps the whole area feeling genuinely open, which matters especially for sails installed directly over a dining or lounge area.
14. Use a double-layered sail for higher UV protection where needed
Standard shade sails block roughly 90 to 95 percent of UV rays on average, but a double-layer or higher-density fabric option blocks closer to 99 percent, genuinely worth considering for a patio used heavily during peak midday sun.
15. Choose asymmetrical sail shapes for a more dynamic patio layout
Rather than defaulting to a single symmetrical triangle, an asymmetrical or elongated shape follows the actual sun path and seating layout considerably more precisely, giving genuinely better functional coverage.
16. Wash sail fabric annually with a mild soap solution
Dirt and pollen buildup on shade sail fabric can degrade the material’s UV coating meaningfully over time if left unaddressed for multiple seasons. An annual rinse with mild soap and water, using a soft-bristle deck brush, extends the fabric’s functional lifespan considerably.
EDITOR’S PICK
🛒 Soft-Bristle Deck Brush
Annual mild soap‑and‑water rinse with a soft brush removes dirt/pollen buildup that degrades UV coating, prolonging shade sail fabric life.
(paid link)
17. Avoid mounting anchor points directly above a walkway
Positioning support cables or anchor hardware directly over a frequently used walking path creates both a genuine physical hazard and a real maintenance headache whenever adjustments are needed. Route the cable lines to the sides of primary foot traffic instead.
18. Choose a sail size that extends slightly beyond your seating area
Sizing a sail to cover just the exact footprint of your existing furniture leaves genuinely no margin for the sun’s changing angle throughout the day. Extending coverage 2 to 3 feet beyond your actual seating perimeter keeps shade meaningfully consistent from morning through late afternoon.
19. Use eye bolts with a locking nut, not a standard nut
A standard nut can gradually loosen over time from the constant micro-vibration of fabric moving in wind, while a locking or nylon-insert nut holds tension considerably more reliably over months of exposure.
20. Combine a shade sail with a pergola frame for permanent structure
Attaching sail fabric to a pergola shade sail kit’s existing beams instead of freestanding posts gives the whole system a considerably more permanent, structurally rated anchor point, and lets you swap fabric seasonally while the frame itself stays reliably in place year-round.
21. Check tension monthly during peak summer heat
Fabric expands slightly under extreme heat and can develop minor sag that a simple monthly turnbuckle check corrects before it genuinely becomes a pooling or flapping issue, keeping the sail performing at its tightest, most weather-resistant tension throughout the season.
Quick Action Plan
- Start by mapping your patio’s sun path across a full day to decide where afternoon shade actually matters most, since that determines both sail placement and shape.
- Choose between a single large sail or two overlapping smaller sails based on your patio’s size and how much wind exposure the area typically gets, set posts at a minimum of 2 feet deep in concrete if you’re not anchoring to the house, and install turnbuckles at every single anchor point so future re-tensioning takes minutes instead of a full hardware teardown.
- Angle the sail at least 15 degrees for proper water runoff from day one, and set a recurring monthly reminder to check tension through peak summer heat.
FAQs
Conclusion
A shade sail that actually works isn’t a styling choice; it’s an engineering one, built on the right angle, hardware, and anchor depth long before the fabric color even enters the conversation. Get those fundamentals in place, and you’ll have shade that holds up through real summer weather instead of a sail you’re re-tensioning every few weeks. The upfront cost of doing the hardware right- marine-grade turnbuckles, a proper concrete-set post- pays for itself many times over in avoided storm damage and re-installs.
💾 Love these shade sail patio ideas? Save this post to your Patio Shade & Outdoor Structures board on Pinterest!