24 Home Office Lighting Ideas That Reduce Eye Strain
Home Office Lighting Ideas: Your eyes aren’t tired because you stared at a screen too long. They’re tired because whatever is lighting your home office is fighting your screen instead of supporting it: mismatched color temperature, one harsh overhead bulb, glare bouncing off a glossy desk, or worse, a window blasting light straight into your monitor at 2 pm. By hour six, you’re squinting, your head hurts, and you blame “screen time” when the real problem has been sitting six feet above your head the entire day. Home office lighting that reduces eye strain is one of the most health-relevant home decorating ideas available; the combination of screen glare, inadequate task lighting, and poor ambient balance causes cumulative eye fatigue that affects both productivity and sleep quality, and solving it through considered lighting design costs far less than most people assume.
This post contains affiliate links. As an Amazon Associate, I earn from qualifying purchases. If you buy through these links, I may earn a small commission at no extra cost to you.
The Real Reason This Works
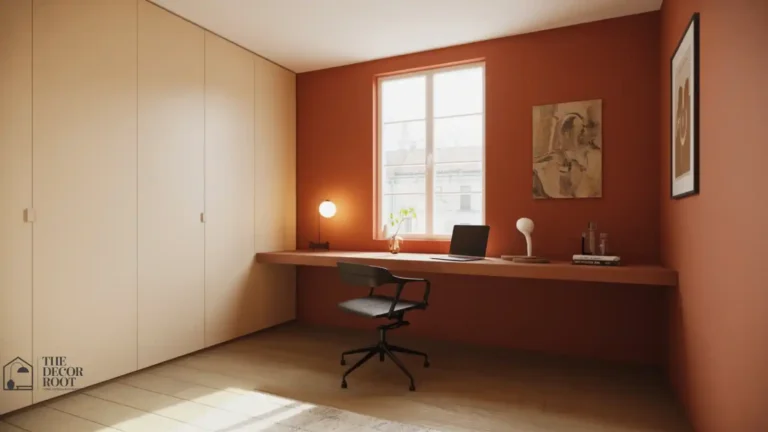
Most home offices run on a single light source, usually a ceiling fixture installed for a bedroom or a hallway, not for four to nine hours of close-focus screen work. Eyes strain when they’re forced to constantly readjust between a bright screen and a dim room, or when they’re catching reflected glare they don’t consciously register but still have to fight. The idea competing lists miss is that lighting isn’t about brightness; it’s about balance between three zones: the ambient light filling the room, the task light hitting your work surface, and the light bouncing (or not bouncing) off your screen. Fix the ratio between those three zones and the eye strain drops even if you never change your monitor settings. Lighting and colour are the two variables that most directly control the visual experience of a home office; these home office colour and lighting ideas show how to select a paint tone that works harmoniously with your specific lighting setup so the room looks resolved rather than washed out or overwhelmed at every time of day.
Perfect Your Office Lighting
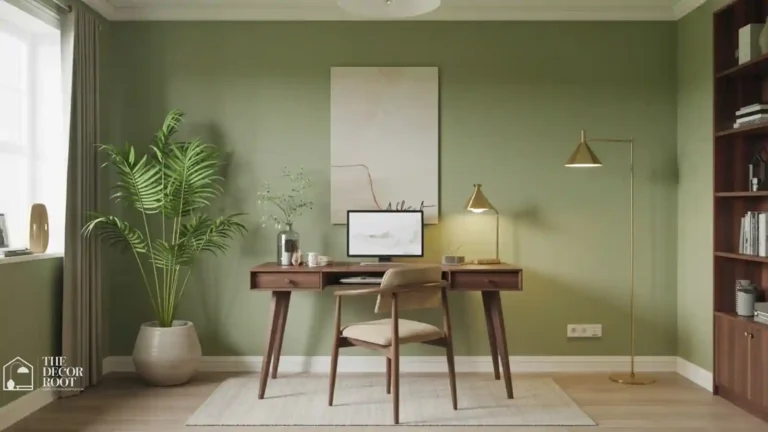
Lighting is one of the most technically demanding decisions in a home office; these home office design ideas show how lighting integrates with desk position, monitor placement, colour palette, and window orientation to create a workspace that looks beautiful and performs ergonomically. The right lighting is the foundation of a cozy home office; these cozy home office ideas show how layered ambient, task, and accent lighting work together to produce a workspace that feels warm and comfortable during long working sessions rather than the harsh, flat illumination that most conventional offices rely on.
1. Start with three-layer lighting, not one fixture.
A single overhead light forces your eyes to do all the contrast correction themselves, shifting between a bright ceiling and a dim desk surface. Add a general ambient source (ceiling or floor lamp), a dedicated task light aimed at your keyboard and papers, and a low-level accent light somewhere in your peripheral vision, like a small lamp on a bookshelf. The accent layer matters more than people expect; it keeps your peripheral field from going pitch black when your task light is on, which is one of the main triggers for eye fatigue during long stretches at a screen.
2. Match your task lamp’s color temperature to daylight, around 4000K–5000K.
Warmer bulbs under 3000K feel cozy but make screens look artificially cool and force your eyes to compensate; anything above 6000K reads as clinical and increases perceived glare. A neutral 4000K–5000K daylight-balanced bulb keeps your monitor’s white balance looking natural instead of tinted, which is a small detail that adds up over an eight-hour day. Most reputable desk lamp brands list Kelvin rating directly on the packaging or the product page, so check before buying rather than guessing based on how “bright” a bulb looks in the store.
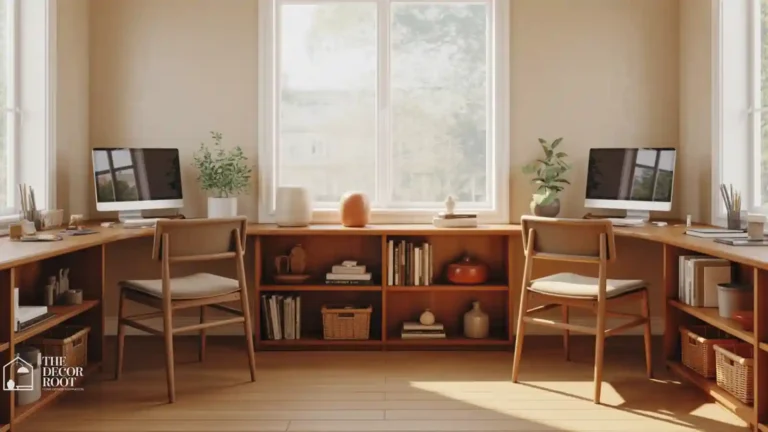
3. Position your desk perpendicular to windows, never facing or backing one.
Facing a window means you’re staring into glare every time you look up; sitting with your back to one means your screen becomes a mirror reflecting the window behind you. Perpendicular placement lets natural light fill the room without ever hitting your eyes or your screen directly, and it’s free it just means moving furniture, not buying anything. If your office layout genuinely doesn’t allow it, a sheer curtain or window film becomes non-negotiable rather than optional.
4. Add an adjustable LED desk lamp with dimmer and color temperature control as your primary task source.
A lamp that only does one brightness and one color forces you to work around it all day instead of the other way around. Look for one with at least three color temperature settings and a stepless dimmer, and position the head so light falls on your keyboard and notes, not directly into your eyeline. This single swap is usually the highest-impact change on this entire list because it replaces guesswork with actual control over your two biggest strain variables: brightness and warmth.
EDITOR’S PICK
🛒Adjustable LED desk lamp with dimmer and 3+ color temperature settings
A three-temperature, stepless dimmer lamp positioned to light your work surface rather than your eyes gives you full control over brightness and warmth, making it the highest impact change on this list for reducing strain.
(paid link)
5. Use a matte, not glossy, desk surface.
Glass and high-gloss laminate desks bounce every overhead light source straight back up toward your face, adding a layer of glare your eyes have to filter out constantly, even when it’s subtle enough that you don’t consciously notice it. A matte wood, cork, or fabric-topped desk absorbs that stray light instead of reflecting it. If replacing the desk isn’t realistic right now, a large matte desk mat solves the same problem for under thirty dollars.
6. Install under-shelf LED puck lights over any wall-mounted storage near your desk.
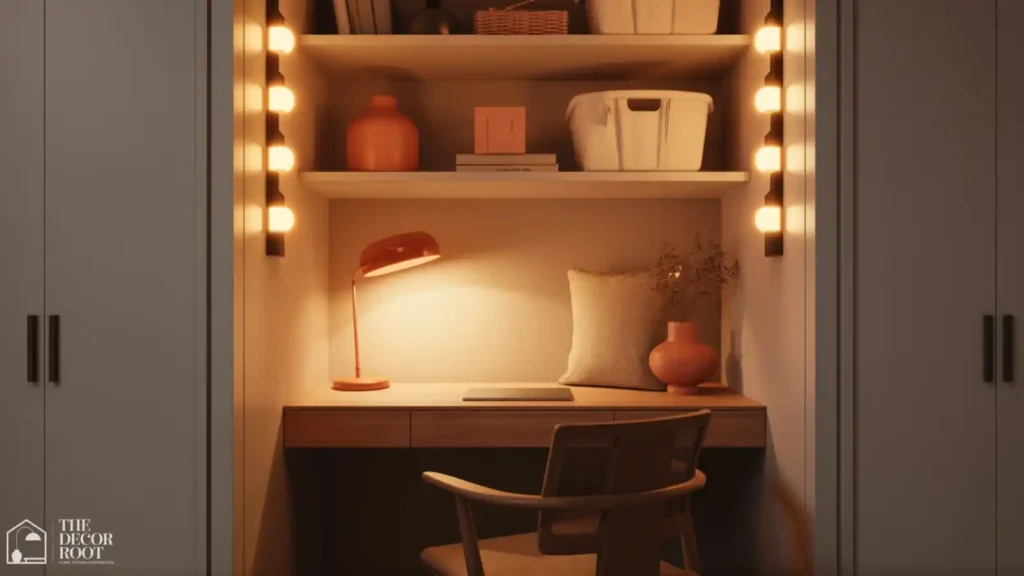
Dark shelving above or beside a monitor creates a stark brightness contrast between your lit screen and a shadowed background, which is exactly the kind of jump your eyes have to keep readjusting for. Small battery or USB-powered puck lights tucked under a shelf edge soften that shadow without adding another lamp to your desk footprint, and most stick-on versions install in under ten minutes with no wiring involved.
7. Choose a dimmable overhead fixture over a fixed-brightness one.
Overhead light needs change throughout the day; a bright fixture that’s perfect at 9 am becomes harsh and fatiguing by 3 pm when natural light has already filled the room. A dimmable fixture, or a smart bulb swapped into your existing fixture, lets you scale ambient brightness down as the day goes on instead of leaving one static setting fighting your changing needs.
8. Pick a task lamp with a flicker-free driver.
Cheap LED bulbs and lamps often flicker at a rate invisible to conscious perception but still picked up by your eyes, which is a documented contributor to fatigue and headaches during screen work. Reputable lamp brands list “flicker-free” or a specific flicker percentage under 3% on the product spec sheet; if a lamp doesn’t mention flicker performance at all, that’s usually a sign it wasn’t tested for it.
9. Add a clip-on monitor light bar instead of a second desk lamp.
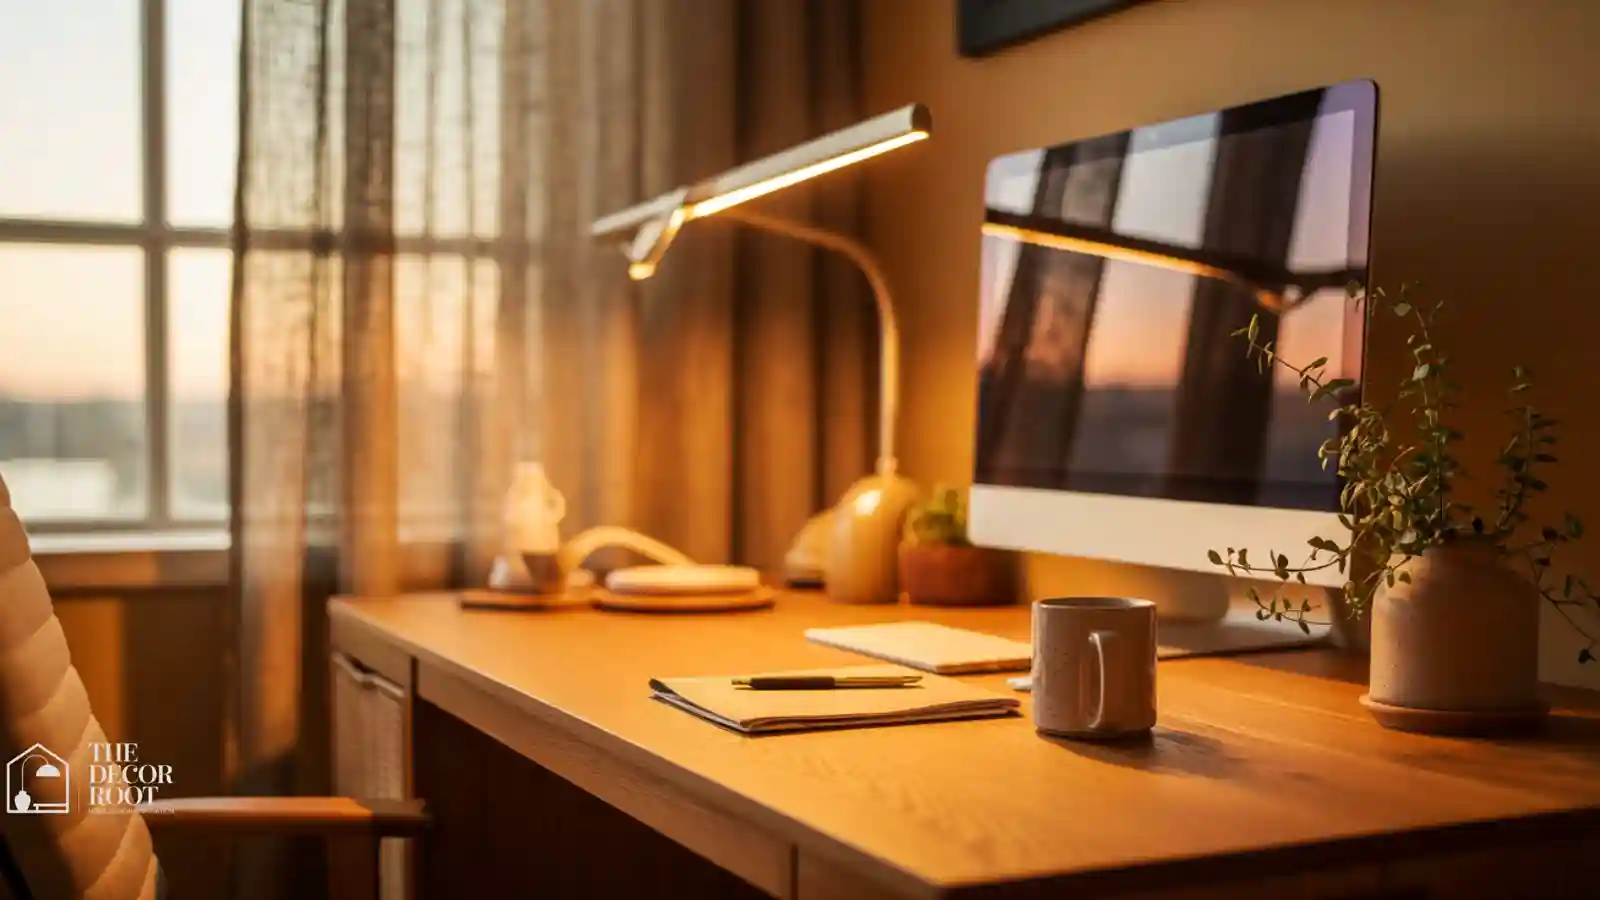
A monitor light bar mounts above your screen and angles light down onto your desk rather than at your eyes, illuminating your keyboard and notes without adding screen glare the way a standard desk lamp positioned nearby often does. It’s become a favorite among people who work at a screen for a living specifically because it solves the desk-lamp-versus-glare tradeoff that traditional lamps can’t.
EDITOR’S PICK
🛒Clip-On Monitor Light Bar With Auto-Dimming Sensor
A monitor light bar mounts above the screen to illuminate your desk without creating glare, making it a favorite among screen workers who need a better alternative to traditional desk lamps.
(paid link)
10. Use bias lighting behind your monitor.
A thin LED strip mounted on the back of your monitor, glowing softly against the wall, closes the brightness gap between your bright screen and a dark wall behind it the exact contrast jump that makes eyes work overtime. Bias lighting is standard practice among video editors for this reason, and a basic USB-powered strip costs under fifteen dollars and takes minutes to attach.
11. Set your ceiling light and desk lamp to the same rough color temperature.
Mixing a warm 2700K ceiling bulb with a cool 5000K desk lamp forces your eyes to constantly recalibrate white balance as your gaze moves between the two zones. Standardizing both sources to a similar 4000K-ish range removes that invisible tug-of-war and makes the whole room feel like one coherent lighting environment instead of two competing ones. Ceiling treatment is the most overlooked dimension of home office lighting; these ceiling lighting and design ideas show how a recessed lighting layout, a pendant positioned correctly over a desk, or a simple paint change on the ceiling surface can resolve the overhead lighting challenge that causes the most common home office eye strain problems.
12. Add a secondary reading lamp if you handle physical documents.
Screens have their own backlight, but paper doesn’t; if your only light source is calibrated for the monitor, printed pages and notebooks will look dim and force extra squinting. A small secondary lamp angled at your notepad or document tray, even a simple clip-on style, keeps both surfaces properly and evenly lit.
13. Hang sheer curtains instead of blocking windows completely.
Blackout curtains kill glare but also kill the natural light that’s genuinely good for your circadian rhythm and mood during work hours. A sheer or light-filtering curtain diffuses harsh direct sun into soft, even ambient light instead of eliminating it, which keeps the room feeling naturally lit without the glare spikes.
14. Add a smart circadian lighting bulb that shifts from cool to warm through the day.
These bulbs automatically move from energizing cooler light in the morning to warmer, dimmer tones by late afternoon, mirroring how outdoor light naturally changes and reducing the artificial mismatch between “what time it is” and “what light your eyes are getting.” Most connect to a basic app so you can set the schedule once and never think about it again.
EDITOR’S PICK
🛒Smart Circadian LED Bulb With App-Controlled Color Temperature Schedule
Smart bulbs shift from cool morning light to warm evening tones automatically, mirroring natural daylight through a one-time app schedule.
(paid link)
15. Avoid pointing any light source directly at your line of sight.
A lamp or fixture positioned so its bulb is visible in your peripheral vision, even unlit-looking, creates a bright hot spot your eyes keep unconsciously tracking. Position every fixture so the bulb itself is shielded by a shade or angled away from where your eyes naturally rest, and only the light it produces is visible, not the source.
16. Use a warm accent lamp somewhere behind you.
A small lamp positioned behind your seated position, out of your direct sightline, fills the space your peripheral vision picks up on without you consciously noticing it’s there. This prevents the “cave effect” of a dark room behind a lit desk, which is a subtle but real contributor to how tired your eyes feel by the end of a session.
17. Choose bulbs with a CRI (Color Rendering Index) of 90 or higher.
Low-CRI bulbs distort how colors appear, which forces your eyes and brain to work harder interpreting what they’re seeing, especially on design or photo-editing work. A CRI rating is usually printed right on the packaging; anything below 80 is a sign of a cheap bulb not built for close, detailed work.
18. Install a smart plug with a lighting schedule.
Consistency matters as much as the light itself. A workspace that’s dim in the morning and overly bright by afternoon because someone forgot to adjust anything creates the same strain as bad lighting from the start. A basic smart plug lets you automate your lamp’s on/off and even dimming schedule so the lighting stays consistent without daily manual adjustment.
19. Add an under-cabinet LED strip light kit if your desk sits under open shelving or cabinets.
Shadows cast by overhead storage are one of the most overlooked sources of uneven desk lighting, especially in closet-converted or built-in office setups. A stick-on strip light kit installs along the underside of the shelf and eliminates the shadow, usually for less than twenty-five dollars and without any electrician needed.
EDITOR’S PICK
🛒Under-Cabinet LED Strip Light Kit, Dimmable With Adhesive Mount
A stick-on under-shelf light kit removes overhead storage shadows for under twenty-five dollars, with no electrician needed.
(paid link)
20. Angle your task lamp at roughly 90 degrees to your line of sight, not straight ahead.
A lamp placed directly in front of you, even pointed down at the desk, still sends stray light into your peripheral vision every time you glance up. Positioning it to the side, roughly perpendicular to where you’re facing, lights the work surface just as effectively without ever crossing into your direct or peripheral eyeline.
21. Add a small lightbox if you do print, sketch, or drafting work.
Anyone reviewing printed proofs, sketching, or doing detailed handwork under regular desk lighting is often working with less even illumination than the task actually needs. A slim LED lightbox provides flat, shadow-free light specifically for that kind of close work and tucks away easily when it’s not in use.
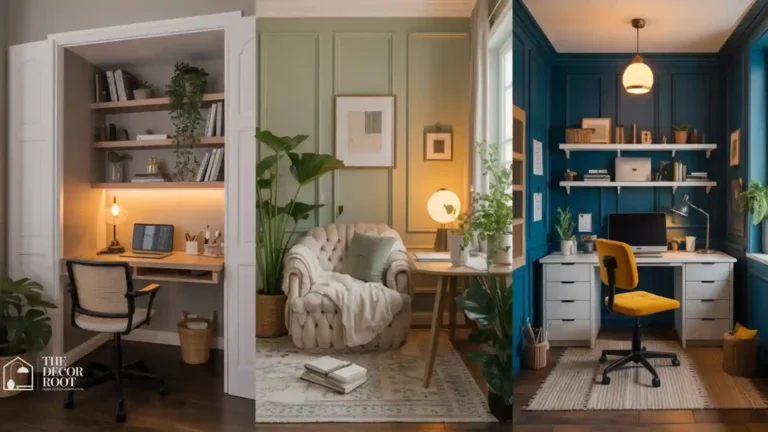
22. Use battery-operated puck lights in closet-converted or nook offices with no ceiling fixture.
Offices built into a closet or under-stair nook often have no overhead lighting at all, relying entirely on whatever lamp is on the desk, which creates the exact single-source strain problem this whole list is built to solve. Stick-on battery puck lights mounted at ceiling or upper-wall height create a makeshift ambient layer with zero wiring required.
23. Add a physical anti-glare shade or diffuser attachment to any exposed-bulb lamp.
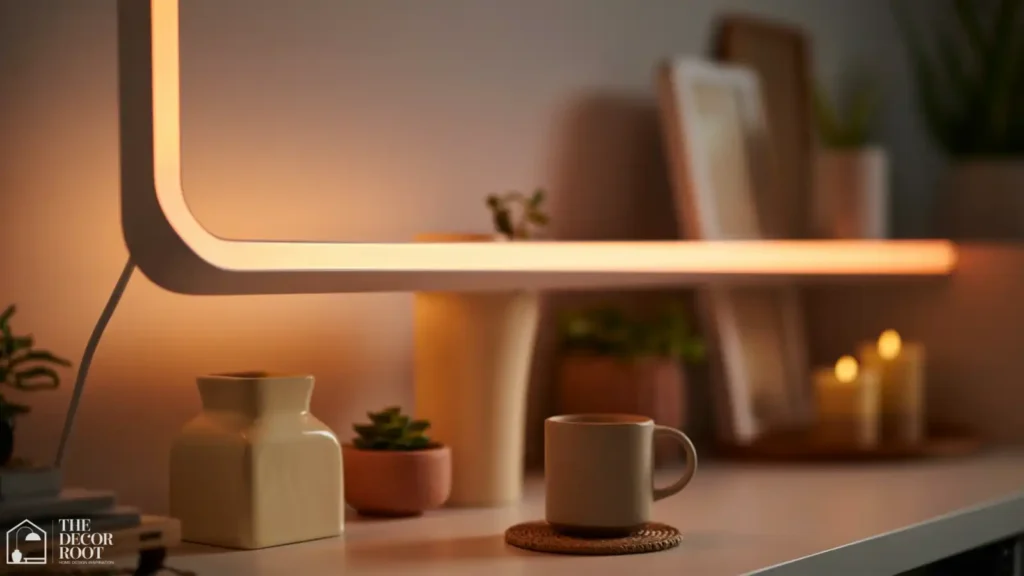
A lamp with a visible bulb and no shade sends harsh, direct light in every direction, including straight at your eyes when you glance toward it. A simple fabric or frosted-glass shade diffuses that same light into something soft enough not to trigger the squint reflex, and most standard lamp shades cost under fifteen dollars to swap on.
24. Add a clip-on anti-glare lamp shade attachment as a fast fix for any lamp you already own.
If replacing lamps entirely isn’t in the budget right now, a clip-on diffuser attachment solves the same harsh-bulb problem for a fraction of the cost, snapping onto most standard lamp necks in seconds. It’s the lowest-effort, lowest-cost item on this entire list and still meaningfully cuts direct glare.
EDITOR’S PICK
🛒Clip-On Anti-Glare Lamp Shade Attachment
A clip-on lamp diffuser is the lowest-cost, lowest-effort fix on the list, snapping onto standard necks in seconds to cut harsh glare without replacing the fixture.
(paid link)
Quick Action Plan
- If you only do three things this week, do these in order: swap your desk lamp for one with a dimmer and adjustable color temperature (Tip 4), reposition your desk so it’s perpendicular to the nearest window instead of facing or backing it (Tip 3), and add bias lighting behind your monitor (Tip 10).
- Those three changes alone address the biggest contrast and glare issues most home offices have, and none of them require an electrician or a big budget.
Frequently Asked Questions
Conclusion
Eye strain from a home office rarely comes down to one dramatic problem; it’s usually three or four small mismatches stacking on top of each other by the afternoon. Start with the layered lighting and the desk position, since those are free, then add the task lamp and bias lighting when you’re ready to spend a little.
💾 Save this to your Home Office Ideas board on Pinterest so you can shop the fixes when you’re ready.