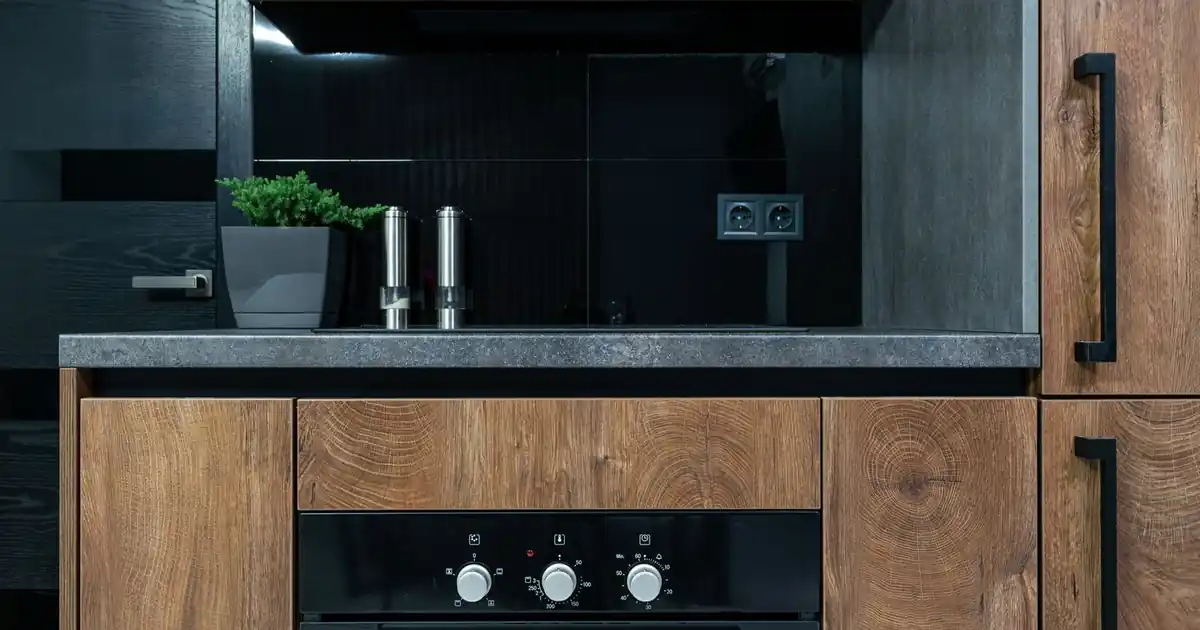
Kitchen Backsplash Ideas: Measure the Wall, Pick the Tile, and Seal It Once
kitchen backsplash ideas start with the wall, not the tile. A backsplash that is picked before the wall is measured ends up short by a row, or wide by a box, or cut into slivers at the edge, because the wall decides the height, the length, and the number of tiles, and the tile only decides the color. Most backsplash lists show pretty tile and stop there, and the reader is left to guess the count, the grout, and the seal. This guide starts the other way around: measure first, count second, and buy in the order that keeps the wall finished at every step.
You get the height table first, 18 inches standard, 36 to 40 inches full height, 30 to 36 inches behind the stove, then the tile count math, 8 subway tiles per square foot and about 264 tiles for a standard kitchen, then the grout rule, unsanded under one eighth of an inch and sanded above it, then the seal, and then 12 researched picks mapped to the jobs where they work. Nothing here asks you to buy everything at once, and nothing here asks one tile to carry the whole wall.
This article is research based curation, not hands on testing. Where a detail could not be verified, it is left out rather than guessed, and you should check size, color, and contents on the live listing before ordering. The numbers quoted from other sites, the 18 inch height, the 264 tile count, and the grout figures, are their figures, not tested claims.
How these picks were chosen: each pick was researched from listing and source pages and checked at the publish date. No star rating is claimed for any pick. Check size, color, and contents on the listing before ordering, because listings and variants change. Where a detail cannot be verified, it is left out rather than guessed.
Affiliate disclosure: This article contains affiliate links to products on Amazon. As an Amazon Associate I earn from qualifying purchases. The price you pay stays the same, and the commission helps keep The Decor Root running.
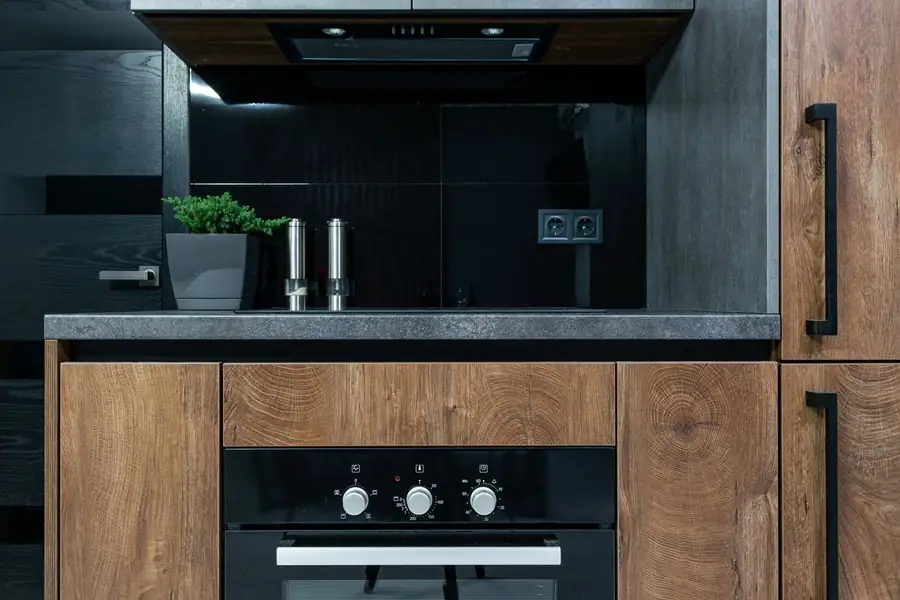
Measure the Wall First, Then Pick the Tile
Measure the wall first, because the wall decides the height, the length, and the tile count, and the catalog decides none of them. The standard height is 18 inches from the counter to the upper cabinets, and a standard kitchen runs about 10 feet of wall, which works out to about 30 square feet of tile once the stove run is added. A backsplash bought before the wall is measured is a backsplash that runs short by a row or leaves three boxes behind, and the tile goes back to the store.
Run the audit in order, because the order is the method. Measure the height from the counter to the cabinet, the length of each run, the height behind the stove to the hood, and the size of the tile, then add waste, 10 percent for a straight stack and 12 percent for an offset or brick pattern. A tile count that starts from the wall fits the first time, and a count that starts from the box never does.
The farmhouse thinking behind this section, how a measured wall carries a whole kitchen, lives in farmhouse cottage kitchen ideas.
| Measure | Figure | Source |
|---|---|---|
| Standard height | 18 in, counter to upper cabinets | howmuchflooring |
| Full height | 36 to 40 in, to the ceiling | howmuchflooring |
| Behind the stove | 30 to 36 in, to the hood | howmuchflooring |
| Noncombustible cover | 18 to 24 in behind a cooktop | build-construct |
| Classic subway tile | 3 by 6 in, 0.125 sq ft each | howmuchflooring |
| Tiles per sq ft | 8 for 3 by 6 in; 2.3 for 4 by 16 in | acecountertops |
| Standard kitchen | About 30 sq ft, about 264 tiles incl. 10% waste | howmuchflooring |
| Waste, straight stack | 10% | chiclivingclub |
| Waste, offset or brick | 12% | chiclivingclub |
| Waste factor | Times 1.10 to 1.15 | build-construct |
| Cut tile | At least about half a tile wide or 1.5 in | chiclivingclub |
| 18 in height | 5 full rows plus about a 2.25 in cut row | chiclivingclub |
| 3 by 12 tile | 1.5 rows fit in an 18 in gap | jordanstile |
| Handmade or zellige joint | 1/8 in or wider | jordanstile |
| Rectified tile joint | Can sit at 1/16 in | jordanstile |
| Grout, unsanded | Joints under 1/8 in | howmuchflooring |
| Grout, sanded | Wider joints | howmuchflooring |
| Grout use | About 1 lb per 5 sq ft of subway tile | howmuchflooring |
| Grout line per sq ft | 3.8 to 18 ft by tile size | acecountertops |
| Ceramic subway | $2 to $8 per sq ft | build-construct |
| Porcelain | $4 to $12 per sq ft | build-construct |
| 4 in strip | The lowest backsplash | build-construct |
The table figures come from named guides, and where the guides disagree, the range is shown and the conflict is named, not settled. The three waste figures, 10 percent for a straight stack, 12 percent for an offset pattern, and a factor of 1.10 to 1.15, describe the same wall in three ways, so the article uses 10 percent as the standard straight-stack figure and names the other two. The grout weight and the grout line length are two different measures, so the article keeps them apart.
Peel and Stick First: The No-Demo Backsplash
Peel and stick is the fastest backsplash there is, because it needs no thinset, no trowel, and no demo, and the wall goes from bare paint to finished tile in one afternoon. The tile is vinyl, not ceramic, so it cuts with a knife and sticks to a clean flat wall, and the sage green subway sheets below cover a run in ten 12 by 12 inch pieces. Start here when the wall is sound and the budget is tight, because the first tile up is the one that proves the color works.
The first pick below is the ten-sheet sage green set at $39.99 from DwellBudget, and the second is a five-sheet set for a shorter run. Both are peel and stick, both go on the same clean wall, and the only choice between them is how much wall there is to cover. Buy the ten-sheet set for a full run and the five-sheet set for the stretch above the stove, and keep one sheet spare for the cut that goes wrong.
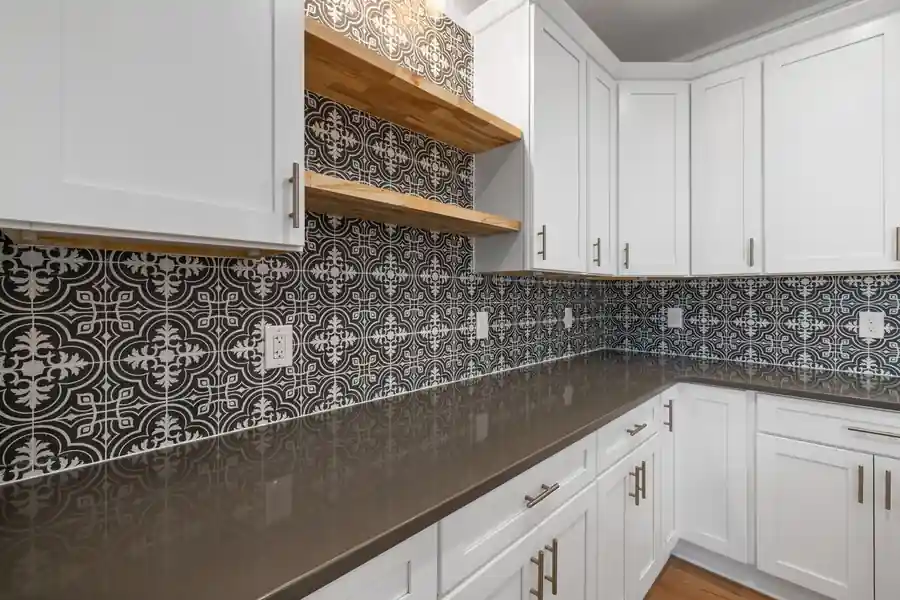
The warm thinking behind this section, how a warm color carries a whole kitchen, lives in warm neutral kitchen color ideas.
Measure the Wall First: Height, Length, and Tile Count
The height decides the tile before the tile decides anything else. The standard run is 18 inches from the counter to the upper cabinets, which fits five full rows of 3 by 6 inch subway tile plus a cut row of about 2.25 inches, and a 3 by 12 inch tile fits one and a half rows in the same gap. Full height runs 36 to 40 inches to the ceiling, and the stove run goes 30 to 36 inches to the hood, because the heat and the steam need a noncombustible cover of 18 to 24 inches behind the cooktop.
Count the tile from the square footage, because the square footage is the only number that does not change. A 3 by 6 inch subway tile is 0.125 square feet, so 8 tiles cover one square foot, and a standard kitchen at about 30 square feet needs about 264 tiles once 10 percent waste is added. Add 12 percent instead for an offset or brick pattern, and keep every cut tile at least about half a tile wide or 1.5 inches, so the cut edge reads as planned and never as a sliver.
Real Tile Without the Mess: The Adhesive Mat
Real tile without thinset sounds like a trick, and the adhesive mat is the reason it is not. The mat sticks to the wall, the tile sticks to the mat, and the built-in spacers set the joint at one sixteenth, one thirty-second, or one eighth of an inch while the tile sets, so there is no mortar to mix and no trowel to wash. The mat below covers 15 square feet per roll and holds tiles up to 1 square foot, which covers every subway tile in this guide and most of the stone.
The mat below is $39.98 from activegearreviews, and the grout that follows it is the unsanded powder in the compact box, made for joints from one sixteenth to one eighth of an inch. Grout the mat-set tile the same day it sets, use about 1 pound of grout per 5 square feet of subway tile, and let the grout cure before the sealer goes on, because the sealer locks the grout in and the grout locks the tile in.

Also solves this: the tight joints that need unsanded grout, not the wide joints that need sanded
MAPEI Keracolor U Unsanded Powder Grout, 10 lb, 00 White
Unsanded powder grout, 10 lb, color 00 White, model 84910, grouts joints 1/16 to 1/8 in, as printed. The grout for tight joints. It suits the joints under 1/8 in that a backsplash uses, and a 10 lb bag covers the grout lines of a standard run without a second bag. Not for: a reader with joints wider than 1/8 in, since unsanded grout is for joints 1/16 to 1/8 in, or a reader who wants a pre-mixed grout, since this is a powder to mix.
Check Price on Amazon → (paid link)
The boho thinking behind this section, how a bold pattern carries a calm kitchen, lives in boho kitchen ideas.
Seal It Once: The Step That Keeps Grout Clean
Grout stains fast when it is never sealed, because grout is porous and cooking splashes soak straight in. The fix is one coat of impregnator sealer after the grout cures, and the sealer below is the quart that covers a backsplash with room to spare. It soaks into the grout instead of sitting on top of it, so the tile keeps its finish and the grout keeps its color, and the next splash wipes off instead of soaking in.
The sealer below is $30.99 from concretesealerreviews, a quart at 32 fluid ounces, model 511QT6. Roll it on after the grout cures, let it soak in, and wipe the tile clean before it dries, because sealer left on the tile face dries as a haze. Seal once and the grout stays clean for years; skip the seal and the grout stains in the first month.
The japandi thinking behind this section, how one quiet finish carries a calm kitchen, lives in japandi kitchen ideas.
Metal That Reads as Tile: Pattern Without Paint
Metal tile gives the wall a pattern that paint cannot, because the tile catches the light and the grout lines give it a grid. The two boxes below are stainless steel in a subway shape, one in a 12.5 by 4 inch matted tile and one in a hundred-piece box of 3 by 6 inch tiles, and both stick on with no mortar behind them. Use metal where the wall needs shine and the budget needs a single box, because metal reads as expensive at a fraction of the stone price.
The matted tile below covers 1.04 square feet in three tiles, so it suits an accent strip or the run above the stove, while the hundred-piece box covers 12.5 square feet and suits the full wall. Pick the strip for a test of the metal look and the box for the whole run, and keep the grout lines straight, because metal shows a crooked line faster than ceramic does.
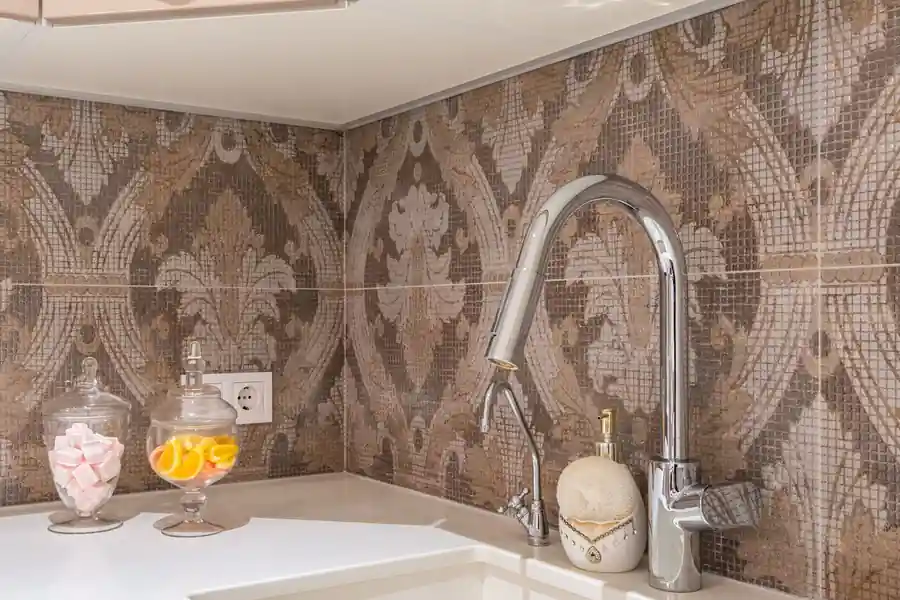
Also solves this: the wall that needs metal shine in a subway shape, not a flat painted wall
Aspect Peel and Stick Backsplash, 12.5 x 4 in Subway Stainless Matted Metal Tile, 3-Pack
Peel and stick backsplash, 12.5 by 4 in subway stainless matted metal tile, 3-pack, 1.04 sq ft coverage, as printed. The metal subway tile. A stainless tile in a subway layout gives the metal look with the tile shape the wall already knows, and peel and stick means no mortar behind it. Not for: a reader who needs to cover a full wall, since three tiles cover 1.04 sq ft, or a reader who wants a glossy finish, since this tile is matted.
Check Price on Amazon → (paid link)
Also solves this: the full wall that needs one box of metal tile, not three orders that never match
Art3d 100-Piece Peel and Stick Stainless Steel Backsplash, 3 x 6 in Subway
100-piece peel and stick stainless steel backsplash, 3 by 6 in subway, 12.5 sq ft, part A16020P100, as printed. The metal tile by the box. One hundred 3 by 6 in stainless tiles cover 12.5 sq ft, so a full run goes up from one box with no second order and no color mismatch between batches. Not for: a reader who wants a single accent strip, since this is a 100-piece box, or a reader who wants ceramic tile, since these are stainless steel.
Check Price on Amazon → (paid link)
The mid-century thinking behind this section, how one metal line carries a whole kitchen, lives in mid-century modern kitchen ideas.
Stainless Steel by the Sheet: Shine That Wipes Clean
Stainless steel by the sheet is the fastest metal backsplash, because the sheets are larger than single tiles and the joints stay fewer and straighter. The two boxes below are both stainless, one in six sheets covering 6 square feet and one in sixteen 12 by 12 inch sheets covering about 16 square feet, and both are peel and stick, so the wall goes up with no mortar and no grout. The brushed silver finish below is the one to pick when the appliances are stainless, because the wall and the appliances then read as one system.
Wipe stainless with a damp cloth and a drop of dish soap, because harsh cleaners streak the brushed finish and leave marks that show in the light. The sheets below stick to a clean flat wall, and the grout-free joints mean there is nothing to seal, so the only upkeep is the wipe, and the wall keeps its shine for the life of the kitchen.
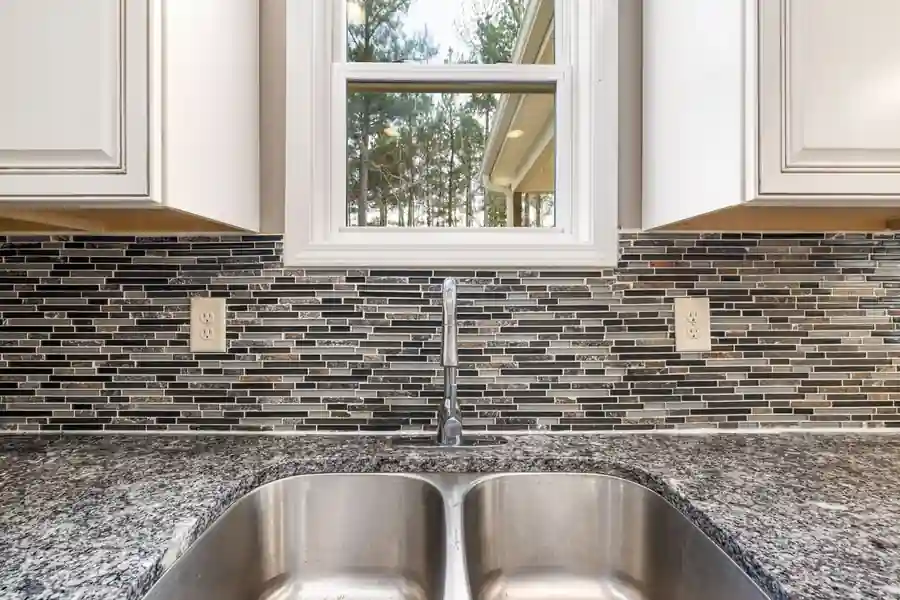
Also solves this: the wall that needs fewer joints, not one tile at a time
SpeedTiles LINOX Modern Metal Tiles, Stainless Steel, 6-Pack (6 sq ft)
LINOX modern metal tiles, stainless steel, 6-pack, 6 sq ft, as printed. The sheet metal tile. Six stainless tiles cover 6 sq ft in larger sheets, so the wall goes up faster than one tile at a time and the joints stay fewer and straighter. Not for: a reader who wants a subway layout, since these are modern metal tiles in sheets, or a reader who wants ceramic, since these are stainless steel.
Check Price on Amazon → (paid link)
Also solves this: the full wall that needs brushed silver, not a polished mirror
CHIHUT 16 Sheets 12×12 Brushed Silver Stainless Steel Subway Peel and Stick
16 sheets, 12 by 12 in, brushed silver stainless steel subway, peel and stick, about 16 sq ft, as printed. The brushed silver run. Sixteen 12 by 12 in brushed silver sheets cover about 16 sq ft, so a full wall gets the stainless look in the same subway size as the ceramic it replaces. Not for: a reader who wants a polished mirror finish, since this is brushed silver, or a reader who wants a tile under 12 by 12 in, since these are full sheets.
Check Price on Amazon → (paid link)
The cottage thinking behind this section, how one dark tile grounds a white kitchen, lives in cottage kitchen ideas.
Color Without Paint: Green Tile That Sticks On
Color without paint is the promise of a green vinyl tile, because the tile puts the color on the wall in one afternoon and the paint can stays in the garage. The ten-sheet set below is green 3D vinyl in 12 by 12 inch sheets, so the wall gets depth and color at once, and the 3D surface catches the light the way flat paint never does. Use green where the cabinets are white and the counters are pale, because the tile then carries the color and the rest of the kitchen stays calm.
Vinyl tile wipes clean with a damp cloth, and the 3D surface hides the odd splash better than a flat tile does. Keep the sheets out of direct heat behind the stove, because vinyl softens where a gas flame sits close, and use the metal tile above for the hot run instead.

Also solves this: the white kitchen that needs color, not another coat of paint
Alwayspon 10 Sheets 12×12 Green 3D Vinyl Backsplash Tiles
10 sheets, 12 by 12 in, Green 3D vinyl backsplash tiles, first available 4 Mar 2025, as printed. The color without paint. Ten green 3D vinyl sheets put color on the wall in one afternoon, so the kitchen gets its accent without a paint can and without a tile saw. Not for: a reader who wants a neutral wall, since these tiles are green, or a reader who wants real tile, since these are 3D vinyl.
Check Price on Amazon → (paid link)
The open shelving thinking behind this section, how color and open shelves share one wall, lives in open shelving ideas for bright summer kitchens.
Cut It Clean: Nippers Before the First Tile
Every backsplash ends in cuts, around the outlets, at the edges, and under the cabinets, and the cut is where a good wall turns ragged. Glass tile nippers bite the cut clean, so the edge stays straight and the tile fits the gap on the first try. The two-piece set below is the tool for the job, and it costs less than one box of tile, so there is no reason to snap tile with pliers and hope.
The nippers below are $18.61 from toolhandle, a two-piece heavy duty set. Score the tile first, nip from the edge toward the score, and keep every cut at least about half a tile wide or 1.5 inches, because a narrower cut snaps and a sliver reads as a mistake. Cut all the edge tiles before the adhesive goes on, so the wall goes up in one pass.
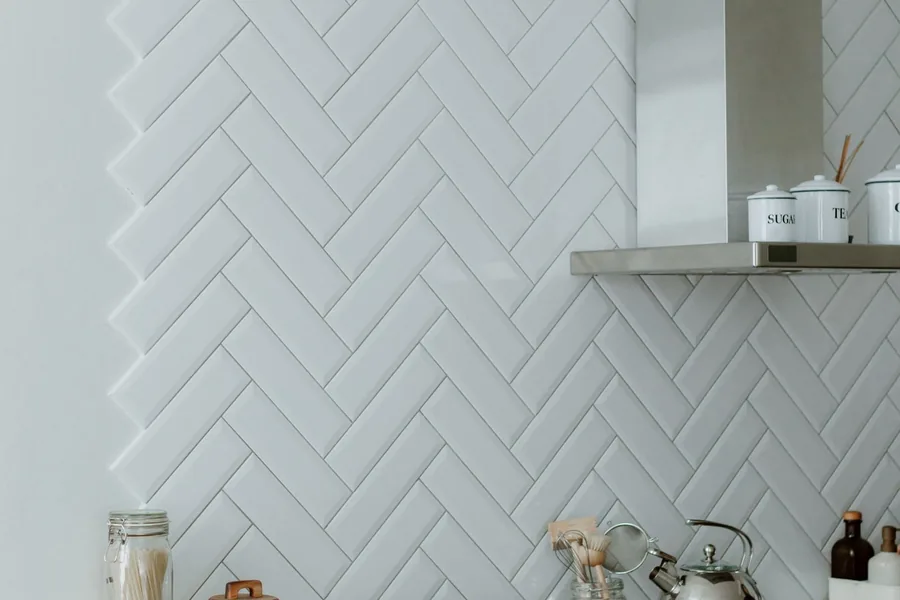
Also solves this: the edge cuts that need nippers, not a wet saw
Goldblatt Heavy Duty Glass Tile Nippers Set, 2-Piece
Heavy duty glass tile nippers set, 2-piece, as printed. The cutter for the edges. Glass tile nippers bite the cuts a backsplash needs around outlets and edges, so the cut tiles stay clean and the wall needs no wet saw. Not for: a reader who wants to cut thick porcelain slabs, since these nippers are for glass tile, or a reader who wants a full tile saw, since this is a hand tool set.
Check Price on Amazon → (paid link)
The color thinking behind this section, how one cut tile keeps the pattern honest, lives in color psychology ideas for kitchens.
Stick It Flat: The Tool That Kills Bubbles
Peel and stick tile fails on bubbles, not on glue, because air trapped under a tile lifts the edge in the first week and the whole sheet follows. The smoothing tool kit below presses every tile flat against the wall, pushing the air out from the center to the edge, so the tile bonds fully and stays flat. It is the last tool in the buy order and the first one to use on install day, because a flat tile is a tile that stays.
Work from the center of each sheet to the edge, and press the corners twice, because the corners are where the air hides and the edges are where the lift starts. A tile that is pressed flat on day one needs no fix on day thirty, and the kit below is the cheapest insurance in the whole article.

Also solves this: the bubbles under peel and stick tile, not the edges that lift in a week
Art3d Smoothing Tool Kit for Peel and Stick Wallpaper / Vinyl Backsplash Tile
Smoothing tool kit for peel and stick wallpaper and vinyl backsplash tile, as printed. The tool that kills bubbles. A smoothing tool kit presses every peel and stick tile flat against the wall, so no air stays under the tile and no edge lifts in the first week. Not for: a reader who is setting real tile in mortar, since this kit is for peel and stick vinyl, or a reader who wants a single squeegee, since this is a kit.
Check Price on Amazon → (paid link)
The twelve buys in these kitchen backsplash ideas are all in place now, and the wall that has all twelve is a wall where the tile, the grout, the seal, and the tools each did one job.
Buy in Order: Stick, Set, Seal, Then Finish
Buy in the order the problems appear, because the order is the method and the method is what makes the wall finished at every step. First the peel and stick tile, because the bare wall is the problem, and the STICKGOO ten-sheet set is the first buy, with the SMART TILES five-sheet set for the shorter run. Then the adhesive mat for real tile, because the mat is the step up when vinyl is not enough, and the MusselBound roll is the third buy.
Then the sealer and the grout, because the grout stains in the first month when it is never sealed, and the Miracle Sealants quart is the fourth buy with the MAPEI unsanded grout beside it. Then the metal and the color, because the wall needs its pattern once the base is set, and the Aspect and Art3d metal tiles, the SpeedTiles and CHIHUT sheets, and the Alwayspon green vinyl fill the wall in that order.
Last the tools, because the cuts and the bubbles are the last problems, and the Goldblatt nippers and the Art3d smoothing kit close the job. Measure the wall, count the tile, and the backsplash fits the first time.
Frequently Asked Questions
1. How high should a kitchen backsplash be?
Ans: 18 inches is the standard height from the counter to the upper cabinets. Full height runs 36 to 40 inches to the ceiling, and behind the stove the tile should run 30 to 36 inches to the hood, with a noncombustible cover of 18 to 24 inches behind the cooktop.
2. How many subway tiles do I need for a standard kitchen?
Ans: A standard kitchen is about 30 square feet, and a 3 by 6 inch subway tile is 0.125 square feet, so about 264 tiles cover it including 10 percent waste. That is 8 tiles per square foot, and an offset or brick pattern needs 12 percent waste instead.
3. What grout do I use for a backsplash?
Ans: Unsanded grout suits joints under 1/8 of an inch, which is what a backsplash uses, and sanded grout suits wider joints. Plan about 1 pound of grout per 5 square feet of subway tile, and seal the grout once it cures so cooking splashes wipe off.
4. Can I put peel and stick tile over old tile?
Ans: Yes, when the surface is clean, flat, and dry, and the tiles are pressed flat with a smoothing tool so no bubbles stay under them. When real tile is wanted instead, the adhesive mat below is the step up, because it holds real tile with no mortar and no mess.
5. How do I cut tile without a wet saw?
Ans: Glass tile nippers handle the cuts a backsplash needs, around outlets, at the edges, and under the cabinets. Score the tile first, nip from the edge toward the score, and keep every cut at least about half a tile wide or 1.5 inches, so the cut edge reads as planned.
Quick Check Before You Order: Measure the Height, Count the Tile, and Seal the Grout
kitchen backsplash ideas come down to this: hold the 18 inch standard height, count 8 subway tiles per square foot with 10 percent waste, grout with unsanded grout under one eighth of an inch, seal once, and buy in order, stick, set, seal, then finish. One tape measure, one tile count, one sealer, and one buy order are the whole wall, and the rest is a matter of keeping the grout clean.
Save these kitchen backsplash ideas to your Pinterest board, so your wall plan is ready when you are!
Photos via Pexels. All photos are free to use and sourced from Pexels.